New Document Help
The Add Document page allows you to create a new document based on a selected template. You can access it from the Home tab, Documents tab, Clients tab, and Templates tab.
To create a new document:
-
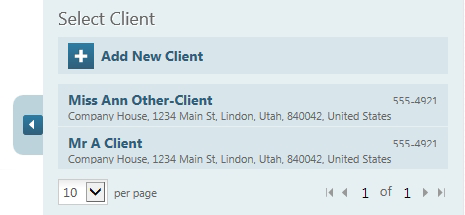
Optionally you can start a new document by adding a client. Click Add a client to the document and select a client from the list in the Select Client panel. Click the left arrow to filter the client list by user and choose to exclude clients without open documents. To create a new client, click Add New Client.
-
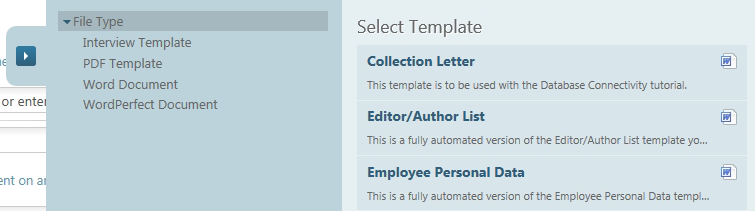
If you didn't select a template when you opened the Add Document page, enter the template name into the field. Templates can also be selected from the Select Template panel. To filter the template list by tag, click on the left arrow to expand the panel and view the list of available tags. Click a tag to filter the template list.
-
Document Services creates a default document title from the template and client names but you can change it by editing the title field.
-
Click Base this document on an answer file or previous document to pre-populate interview answers by uploading a HotDocs Answer File or to base the document on a previously created document. If you click Upload answer file you can browse your computer for a HotDocs answer file. If you click Select a previous document you can select the document you need from a searchable drop-down list. Click the back arrow to return to the option buttons at anytime.
-
By default Document Services sets the Primary Contact to the currently logged in user but you can set this to another user by clicking on the drop-down arrow.
-
Click the finish button to generate the document.
-
Once the document is created it opens in the Document Edit page.