Tag Settings
The template tagging feature allows you to group templates according to type. This in turn decreases the time spent searching for a template. The tag settings page allows the creation of new tags, over and above the defaults provided, which you can then assign to a template.
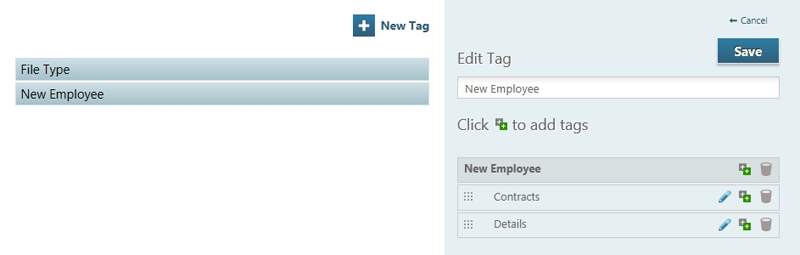
Adding a new tag:
Adding a new tag creates a top-level entry, under which you can add specific sub-tags that can be assigned to a template. To add a new tag, click
 and enter the tag name you wish to use. Click on the save button and the new entry will appear in the tag list.
Adding a sub tag:
The main tags displayed cannot have templates assigned to them. However you can add sub tags to the main tag groups. To add a sub tag, click on the tag that you would like to add a sub tag to. The tag settings will appear on the right of the page. Click the
 button beside the tag name, highlighted in grey. A text box will appear, enter the sub tag name and click the plus button. The sub tag is now added to the tag.
Editing a sub tag name: Select the tag to show the sub tag for the selected entry. Click on the edit button
 and a text box will appear in which you can edit the tag name.
Removing a tag: To remove a tag or sub-tag; select the appropriate tag or sub-tag, click on the
 button. A prompt will appear asking for confirmation to delete the item.